Galaxy ツールを作る
提供:TogoWiki
目次 |
Galaxyツールを作る
Galaxyにツールを組み込むには大きく分けて以下の二通り方法がある。
- UNIXコマンドやスクリプトをGalaxyツールとして組み込む方法
- 外部のサイトをGalaxyの内部にツールとして組み込む方法
コマンドを利用したGalaxyツールの作り方
Galaxy ツールを作る/コマンドを利用したGalaxyツール を参照
外部サイトと連携を行うGalaxyツールの作り方
Galaxy_ツールを作る/外部サイト連携Galaxyツール を参照
GalaxyツールTips
ひとつのツールから複数データセットを出力
ツールの設定ファイル内のoutputs要素へ複数のdata要素を定義することで、ひとつのツールから複数のデータセットを出力させることができる。また、ワークフロー上ではそれぞれの出力を次のツールの入力へと接続することができる。
設定ファイルのサンプル(multi_output.xml)
<?xml version="1.0"?>
<tool id="multi_output" name="Multi Output">
  <description>Output multiple datasets</description>

  <!-- コマンドへ output1 と output2 を渡す -->
  <command interpreter="sh">multi_output.sh '$source' '$output1' '$output2'</command>
  <inputs>
    <param name="source" format="txt" type="data" label="Source Data" />
  </inputs>

  <!-- outputs へ output1 と output2 を定義 -->
  <outputs>
    <data format="tabular" name="output1" />
    <data format="tabular" name="output2" />
  </outputs>
  <help>
  </help>
</tool>
コマンドのサンプル(multi_output.sh)
#!/bin/sh

# output1 は入力をそのまま出力
cat $1 > $2
# output2 へは行番号を付加して出力
cat -n $1 > $3
メニューのカスタマイズ
メニューのカスタマイズの際,変更するファイルは $GALAXY/tool_conf.xmlである.
例えば,DBCLS Galaxy( http://galaxy.dbcls.jp/ )の tool_conf.xml は下記のようになる:
<?xml version='1.0'?>
<toolbox>
  <section name='Get Data' id='getext'>
    <tool file='data_source/upload.xml'/>
    <label text='DBCLS TogoWS Tools' id='togows_tools'/>
    <tool file='togows/search_resources.xml'/>
    <tool file='togows/search_resources_with_history.xml'/>
    <tool file='togows/get_restful_resources.xml'/>
    <tool file='togows/get_restful_togodb_resources.xml'/>
    <tool file='pubmed/pubmed_get_resource.xml'/>
    <label text='DBCLS Text Mining Tools' id='tm_tools'/>
    <tool file='medline/search_medline_direct.xml'/>
    <tool file='medline/search_medline_with_history.xml'/>
...
- section タグ: Get Data, Send Dataなどのツールカテゴリの見出しの設定
- label タグ: DBCLS TOGOWS TOOLS などの中見出しの設定
- tool タグ: 各ツールの設定
ツールカテゴリやツールを削りたいとき: 当該するタグを削除あるいはコメントアウトすることで,メニューからツールを削除する
新しいツールカテゴリを作りたいとき: section タグを新しく設定し,その中に入れたいツールの設定(toolタグ)を書く
新しいツールを組み込みたいとき: 下記,ツールの組み込み方を参照
公開されているツール
- 本家のユーザーベースなツール公開レポジトリ Galaxy Tool Shed。
- CSHLのHannon Laboratory public galaxy website
BH10.10 Galaxy グループログ
- メンバー
- 神田 (こうだ、トピックリーダー)※大活躍!ありがとうございました
- 山口
- 畠山
- 神沼
- 中尾
- 長崎
- 望月
- 興味のあるトピック書き出し
- 具体的にどう使ってるのか?
- 外部にだしてるのは少なくて、ローカルで使うパターンばかりが多い
- セキュリティはどうすれば?
- ヒトデータをアップロード可能かな? (これは倫理関係だからここではパスかな)
- ユーザーごとに分離されてるか?
- ユーザーごとにツールの表示をカスタマイズ出来るか?
- デフォルトだと全部表示されて、ユーザーには多すぎる → 現状ユーザごとにはできない,サイトごとなら tool_conf.xml を書き換えて再起動する.詳しくは下記.
- ソフトウェアを同梱して配布可能なのか調べたい
- DBCLS Galaxy は既にこの形で配布している
- 具体的にどう使ってるのか?
成果リスト
- 各自ローカルでの開発環境の整備
- ツール組み込み => 達成 (Unix Tools, Annovar) + さらに複数ファイルの出力対応法も調査できた
- 自分の欲しいワークフロー作成 => 必要なツール組み込みが出来たので、Exome ワークフローの作成できた
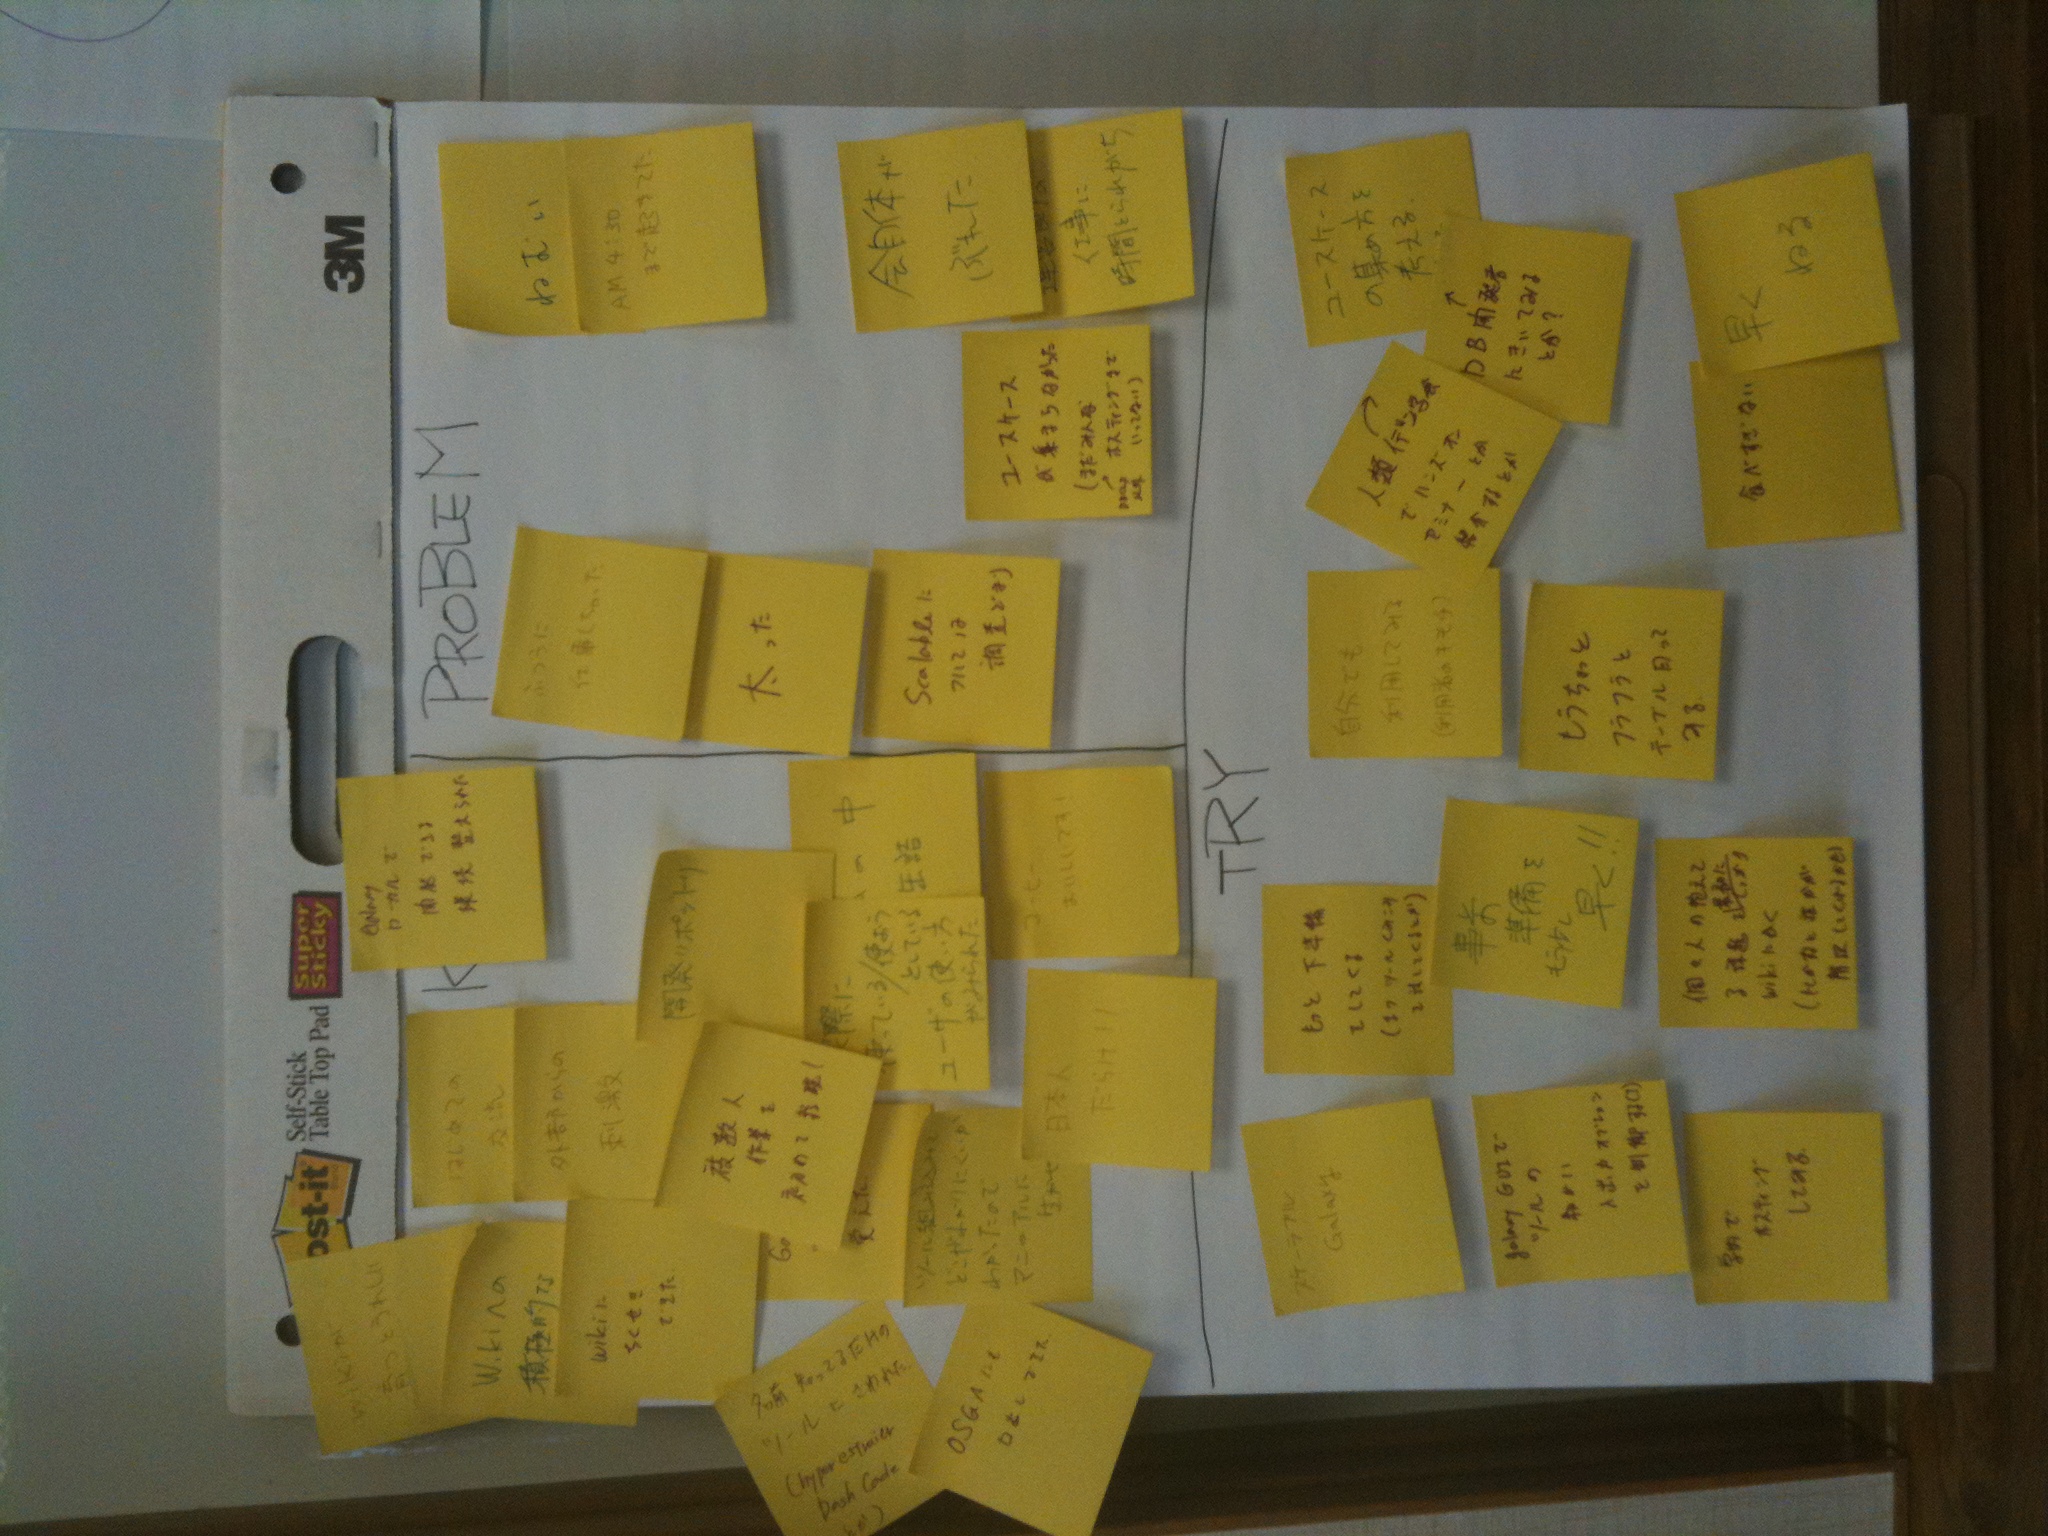
- チームで KPT を行った /mw/images/6/64/Galaxy_kpt.JPG
- 成果に関わるログを TogoWiki に集約できた
- conf.xml などの変更点およびファイル追加を成果として還元できるように svn レポジトリへアップできる体制が整えられた
進行中だけど、頑張って終わらせるタスク
- TogoWiki galaxy の読み易さ、親切度アップ
- ワークフロー (Exome)、ツール (Annovar) を bh10.10-galaxy-central に移植する
今後の課題
開発用trac & svn
まだ未解決・知ってたら教えて欲しい(チラッチラッ・またはプラン@SOMEDAY
- 達成!! Tabular データの任意のカラムに"chr"を付加したい => 以下のツールを組み込むとsedで処理対象のカラム指定+正規表現で文字リプレスが可能になる、と山口さん・畠山さんに教えてもらった
→これを使いましょう http://hannonlab.cshl.edu/galaxy_unix_tools/galaxy.html
README ファイルから抜粋
Galaxy Installation
===================
You'll need a local Galaxy installation to use these tools.

run:
   $  ./install_galaxy_files.sh [GALAXY-SERVER-DIRECTORY]
to copy the needed files to the Galaxy root.
Under <galaxy>/tools a new directory named 'unix_tools' will be created.
In <galaxy>/test-data some files will be placed (for the functional testing).

Now, manually merge the content of 'tool_conf.xml.add' into your Galaxy's tool_conf.xml file.


Functional Testing
==================

Some of the unix tools have a functional unit-test files.
To run the functional testing in Galaxy, add the content
of 'tool_conf.xml.add' to your Galaxy's   tool_conf.xml.sample
(NOTE: not tool_conf.xml, but tool_conf.xml.sample).

Then, from Galaxy's root directory, run:

$ sh run_functional_tests.sh -id cshl_awk_tool
$ sh run_functional_tests.sh -id cshl_sed_tool
$ sh run_functional_tests.sh -id cshl_grep_tool
$ sh run_functional_tests.sh -id cshl_sort_tool
$ sh run_functional_tests.sh -id cshl_cut_tool
$ sh run_functional_tests.sh -id Remove_ending
$ sh run_functional_tests.sh -id cshl_sed_replace_in_line
$ sh run_functional_tests.sh -id cshl_awk_replace_in_column

If the results of the tests is anyhthing other than "OK", you'll need to
fix whatever is wrong.

If the AWK tool failed, make sure you've installed AWK with the 'sandbox' patch.
If the SED tool failed, make sure you've installed SED with the 'sandbox' patch.
If the sort tool failed, make sure you've installed coreutils version 7.1 or later.
テストあるけど、通らないよ…僕の環境?
- 達成!! 複数のファイルが出力されるケースの対応
- どれか一つを決め打ちで出力としたい
- 可能なら複数の出力を持ち越せるといい
→ひとつのツールから複数データセットを出力 を参照
- チェックボックスで選べるようになるとかね
- 達成!! 元々入ってる Intersect が使いこなせない => Galaxy の特徴である genomic interval の方が良いことが分かりました
(あとで書く#こうだ) SNP の位置と genomics interval の 0bp
- 現状、最終的な可視化が NGS ビューワーの IGV に頼っているが、UCSC Genome Browser か Track Star でも可視化できないか? # こうだ
- Workflow の export/import は可能か?
http://bitbucket.org/galaxy/galaxy-central/wiki/Features/DevNewsBrief/2010_10_05 に Both workflows and histories can now be exported to files. Importing workflows and histories is coming soon. とある (import がまだ)
- 再起動なしにデバッグを進める方法あるのか
タスク (ツール組み込み、ワークフロー作成)
手元でツール作成しつつ、本家or DBCLSに組込み公開する。
- Exome workflow (神田さん)
- History からの Extract Workflow 便利・すごい!!
- galaxy-central/database/files/000 にデータがたまるみたい http://skitch.com/mako/dhxbn/2
- (岩崎さん)
- SAMtoolsの変換ツール組込(長崎さん)
- workflow test(望月さん)
- Assembly用評価/グラフ生成workflow :そのうちDDBJ Pipelineから出します (神沼)
結果ログ
インストール情報
galaxyOnMacOSX_install_log
http://bitbucket.org/galaxy/galaxy-central/wiki/GetGalaxy を参照 OSX 10.6.4です。
na% echo $shell /bin/tcsh
na% mkdir ~/galaxy-python
na% ln -s /usr/bin/python2.6 ~/galaxy-python/python (2.5から2.6に変更し て今のとこ問題なし)
na% .tcshrcに set path = ($path ~/galaxy-python)
na% echo ${PATH}
/bin:/sbin:/usr/bin:/usr/sbin:/usr/local/bin:/usr/X11/bin:/usr/bin:/bin:/usr/sbin:/sbin:/usr/local/bin:/usr/X11/bin:/Applications/bioinfo/bwa- 0.5.8a:/Applications/bioinfo/samtools-0.1.7_i386-darwin:/Users/na/galaxy- python
参照先にあるhgがOSXに入ってないので... easy_installでインストール
na% which easy_install /usr/bin/easy_install
na% sudo easy_install Mercurial
Password:XXXXXXX Searching for Mercurial Best match: mercurial 1.6.2 Processing mercurial-1.6.2-py2.6-macosx-10.6-universal.egg mercurial 1.6.2 is already the active version in easy-install.pth Installing hg script to /usr/local/bin
Using /Library/Python/2.6/site-packages/mercurial-1.6.2-py2.6-macosx- 10.6-universal.egg
Processing dependencies for Mercurial Finished processing dependencies for Mercurial
na% /usr/local/bin/hg clone http://www.bx.psu.edu/hg/galaxy galaxy_dist
real URL is http://bitbucket.org/galaxy/galaxy-dist requesting all changes adding changesets
adding manifests adding file changes added 4093 changesets with 18251 changes to 4360 files updating to branch default 2776 files updated, 0 files merged, 0 files removed, 0 files unresolved
na% cd galaxy_dist
na% sh setup.sh
na% sh run.sh で起動
スケーラブル設定
galaxy / galaxy-central / wiki / DevConf2010 – Bitbucket でのトーク Building Scalable Galaxy - Nate Coraor と Galaxy Developer Conference 2010 レポート を参照。
- バックエンドDBの選択:デフォルトはsqlite3、PostgreSQLやMySQLに変更すると性能アップ。
- ファイルアップロード/ダウンロード時のI/Oブロックを回避する為のプロキシ設定。
- マシンのコア数にあわせたスレッドモデル。
調査情報
- 利用可能な世界中のworkflow
- 配布ライセンスの種類 = MIT
ツールの組み込み方
Galaxy にツールを組み込むには,大きく分けて二種類の方法が存在する.
ひとつは,Galaxy のフレーム内でツールを組み込む方法であり,このセクションで詳述する.もうひとつの方法は外部サイトにGalaxy から アクセス可能にする方法で,別ページにて解説する.
galaxy / galaxy-central / wiki / NGSLocalSetup – Bitbucket
galaxy / galaxy-central / wiki / ToolConfigSyntax – Bitbucket tool_hoge.xml を書く際に参考にする (<param> tag set のセクションとか)
関連情報: DBCLS Galaxy に同梱のツールジェネレータを利用して,DBCLS Galaxy に自分のツールを組み込む
( http://galaxy.g.hatena.ne.jp/morita_hideyuki/ )
外部サイトをツールとして利用する場合(例:UCSC Table Browser)
( http://bitbucket.org/galaxy/galaxy-central/wiki/ExternalDisplayApplications/Tutorial )
任意web application利用可能だが、web application側にgalaxy対応が必要。
10/21 ローカルの Galaxy にツール組み込み
http://bitbucket.org/galaxy/galaxy-central/wiki/NGSLocalSetup を読みつつインストール
1. BWA の組み込み
cd ~/Projects/bh10.10/galaxy/galaxy-central/tool-data
cp bwa_index.loc.sample bwa_index.loc
bwa_index.locに追記
hg18	/Users/mako/Projects/bh10.10/galaxy/hg18_data/hg18.fasta
bwa の実行ファイルをパスが通っているところに配置
sudo cp bwa /usr/local/bin
bwa_index.loc の記述に合うように hg18.fasta とそのインデックスファイルを任意のディレクトリに配置
cp ~/Projects/exome_tools_test/Data/hg18.* /Users/mako/Projects/bh10.10/galaxy/hg18_data/
hg18.fasta
hg18.fasta.ann
hg18.fasta.bwt
hg18.fasta.pac
hg18.fasta.rbwt
hg18.fasta.rpac
hg18.fasta.rsa
hg18.fasta.sa
Galaxy's built-in indexes will be available for download soon ということらしい
2. SAM Tools 組み込み
mate sam_fa_indices.loc
index	hg18	/Users/mako/Projects/bh10.10/galaxy/hg18_data/hg18.fasta
bwa の実行ファイルをパスが通っているところに配置
sudo cp ~/Downloads/exome_softwares/samtools/samtools /usr/local/bin/
hg18.fasta とそのインデックスファイルを galaxy ディレクトリに配置
cp ~/Projects/exome_tools_test/Data/hg18.fasta.fai /Users/mako/Projects/bh10.10/galaxy/hg18_data/
3. BEDTools 組み込み
http://groups.google.com/group/bedtools-discuss/browse_thread/thread/e3be681586693399 から始めた
http://cancan.cshl.edu/publicgalaxy/ ショウケースになってる
cp -r ../../../Download/galaxy_BEDTools/tool-data/BEDTools ~/Projects/bh10.10/galaxy/galaxy-central/tool-data/
cp -r ../../../Download/galaxy_BEDTools/tools/BEDTools ../tools/BEDTools
cp -r ../../../Download/galaxy_BEDTools/static/images/genomeCoverageBed_bedgraph.png ../static/images
Add the following section to <galaxy>/tool_conf.xml

    <section name="BEDTools" id="BEDTools">
        <tool file="BEDTools/genomeCoverageBed_bedgraph.xml" />
    </section>
4. Exome 関連ツールを自前で組み込み
- お持ち帰り用DBCLS Galaxyでのツール作成方法(1) - morita_hideyukiの日記 - Galaxy グループ
- お持ち帰り用DBCLS Galaxyでのツール作成方法(2) - morita_hideyukiの日記 - Galaxy グループ
を参考にした
DBCLS の tool wrapper generater を利用してみた
cd dbcls-galaxy
./scripts/tool_generator/generate_tool.sh exome annovar
galaxy-central へコピー
mv tools/exome ../galaxy-central/tools
tool_conf.xml に記述追加
  <section name='Exome' id='exome'>
    <tool file='exome/annovar.xml'/>
  </section>
Galaxy の出す pileup format が自分のコマンドライン操作時の pileup format と2番目のカラムだけ合わないことがわかったので修正する (cut で2番目のカラムを削る)
grep 46498888 Galaxy18-\[Filter_on_data_17\].interval.interval.pileup.interval s_8_sequence.aln.sorted.removedup.ontarget.bam.filtered.pileup  | less
Galaxy18-[Filter_on_data_17].interval.interval.pileup.interval:chr1     46498887        46498888        G       R       <= Galaxy で作った pileup file
s_8_sequence.aln.sorted.removedup.ontarget.bam.filtered.pileup:chr1     46498888                        G       R       <= ローカルの samtools で作った pileup file
Galaxy の cut で2番目カラムを捨てる
c1,c3,c4,c5,c6,c7,c8,c9,c10,c11,c12,c13,c14,c15,c16,c17
続いて Annovar ANNOVAR: Functional annotation of genetic variants from high-throughput sequencing data を組み込み
galaxy-central/tools/exome に以下の2つのファイル (annovar.xml と annovar.rb) を配置する
annovar.xml
<?xml version="1.0"?>
<tool id="annovar" name="Annovar">
  <description></description>

  <inputs>
    <param name="input" format="tabular" type="data" label="Source Data" />
  </inputs>

  <outputs>
    <data format="txt" name="output" />
  </outputs>

  <command interpreter="ruby">annovar.rb '$input' '$output'</command>

  <help>
  </help>
</tool>
annovar.rb
#!/usr/bin/env ruby
# -*- coding: utf-8 -*-

CONVERT2ANNOVAR    = "~/Downloads/exome_softwares/annovar/convert2annovar.pl"
ANNOTATE_VARIATION = "~/Downloads/exome_softwares/annovar/annotate_variation.pl"
AUTO_ANNOVAR       = "~/Downloads/exome_softwares/annovar/auto_annovar.pl"
SUMMARIZE_ANNOVAR  = "~/Downloads/exome_softwares/annovar/summarize_annovar.pl"
ANNOVAR_HUMANDB    = "~/Projects/exome_tools_test/Download/annovar_humandb"

# ANNOVAR website http://www.openbioinformatics.org/annovar/annovar_input.html
system "#{CONVERT2ANNOVAR} -format pileup #{ARGV[0]} > #{ARGV[1]} 2>/dev/null"

# See detail: http://www.openbioinformatics.org/annovar/annovar_accessary.html
system "#{AUTO_ANNOVAR} #{ARGV[1]} #{ANNOVAR_HUMANDB} 2>/dev/null"
History履歴を基にした最短Workflow作成法
1. History作成後に右上オプションからExtract Workflowを選択
2. Workflow nameをテキストボックス中に記入し、Create Workflowボタンを選択
3. Workflow menuに移動し、一番下の「Configure your workflow menu」を選択
4. Analyze data menuに移動して、左パネルのツールリストから「Workflows」をクリックすると、中央パネルにWorkflowの実行画面が現われる。後は「Run workflow」実行
公開されているツール
- 本家のユーザーベースなツール公開レポジトリ Galaxy Tool Shed。
- CSHLのHannon Laboratory public galaxy website
スクリーンショット
- workflow例1 (10/21午前)
- workflow例2 (10/21午前)
- workflow例3 (10/21午後)
- ワークフローで dbSNP に登録されている SNP を除去した後の SNP リスト (10/21午後)
- ワークフローで得られた一塩基変異を IGV で可視化した図 (10/21午後)
- Assembly評価用に生成されるContig長ヒストグラム(10/20午後)
galaxyを外部に公開する方法
1) apacheを導入する。Macの場合、はじめからinstallされている。
2) httpd.conf(Macなら、/etc/apache2にあるよ。)に以下の2行を追記
RewriteEngine on
RewriteRule ^(.*) http://localhost:8080$1 [P]
3)http://ip_address:80/にアクセスする。
※~/galaxy_dist/universe_wsgi.iniは修正なしでOKです。 詳細は以下参照 http://bitbucket.org/galaxy/galaxy-central/wiki/Config/ApacheProxy